Showing posts with label happy. Show all posts

Mar 25, 2015

Colorful caterpillar

I saw this activity on an online shop, and I decided to make one instead of buying it. 

What you need:


  • Cardboard
  • Drawing paper
  • Pencil color
  • Pen
  • Scissor
  • Scotch tape
  • Glue
  • Buttons

For more updated toddler activities, please follow #jennactivities on Instagram


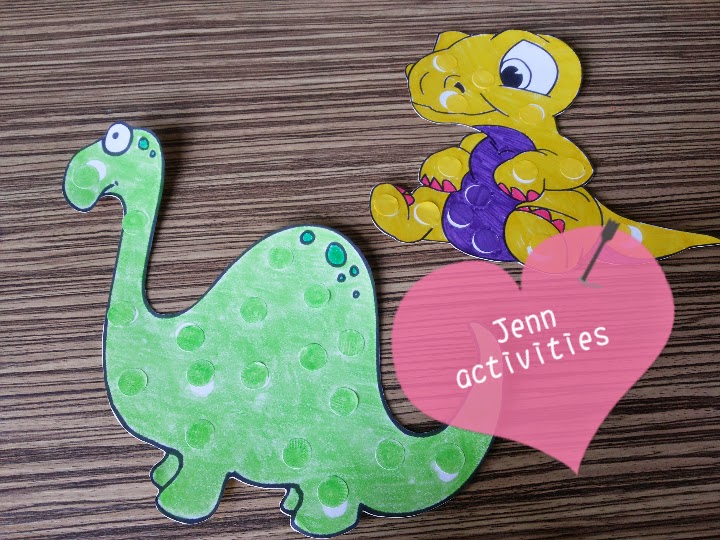
This activity requires the kids to match the same color on the caterpillar with the buttons. This involves their color knowledge and also hand and eyes coordination. You may make it more colorful as you want.


Feb 14, 2015

Valentine - DIY Goodie Bag

This is an idea for those who wanna let their toddler to participate in preparing Valentine day's gift, this activity improves their fine motor skill, and also creativity.


What you need:

  • Bottle caps
  • Paint - I used DIY Edible Paint
  • Drawing paper
  • Pink lace
  • Scissor
  • Glue
  • Puncher


How to do:

  1. Let your toddler paint the paper, we used bottle caps this time. Please make sure to put their old clothes on, there will be mess here and there, yet so much fun!
  2. Wait until the paper fully dry and cut into heart shapes.
  3. Take 2 pieces of them, apply some glue on the edges and stick them together. Don't glue the top part, it's where the snacks are going in.
  4. Make holes on the top part and put in the pink laces.
  5. Fill in the snacks, please make sure how big you want the bag to be from the beginning.


Happy valentine's day!


Feb 4, 2015

Jenn the lil Gardener

Jenn loves gardening sooooo much, she keeps playing it again and again..!
Hope your kids enjoy it too =)


What you need:

  • Popsicle sticks
  • Cardboard
  • Flower pot
  • Waterbeads
  • Gardening tools ( I have mini gardening fork, spade and watering can )


How to do:

  1. Draw flowers on the cardboard, color them and cut the shape out.
  2. Color the popsicles with green color and stick the flowers on them.
  3. Place the waterbeads in a big container, so they can move them to the flower pot by gardening spade.
  4. Let them plant the flowers.


Jan 13, 2015

DIY Snowflake for toddler

I know it's really late to post crafts with Christmas theme, but late is better than nothing. December is identical with snowy winter season, so snowflake is the DIY craft for toddlers this time.


What you need:

  • Plain white paper
  • Origami
  • Puncher
  • Scissor
  • Glue


Instructions:

  1. Draw circles on the paper and cut them out
  2. Fold the circles into 4 and cut on the edges, adults may help with this
  3. Punch colorful origami papers
  4. Decorate the snowflakes with the punched papers

Oct 8, 2014

Name Recognition

Jenn is very familiar with alphabets, so I decided to make a name recognition for her. It's a simple sticking sticker activity, which requires them to match the alphabets.


What you need:
Paper
Stickers
Marker Pen

How:
Make circles and write down the alphabets of their name on it
Get the stickers ready and write down alphabets on it too


Hope they will love it too! 

Oct 3, 2014

Dinosaur

Start introducing dinosaur to Jenn, it's another simple sticking stickers activity. 
She still can't do it perfectly, but I'm still proud of her. 
You'll be amazed how they improved from time to time.


What you need:
Cardboard
Markers/pencil colors/crayon
Stickers

I searched the dinosaur from the net, simply printed it out and colored it, don't forget to leave some blank spots for the stickers.


Enjoy the activity! 

Oct 1, 2014

Matching Animals

It's been busy days lately, so I just give Jenn a simple activity, it's inspired from creative moms out there.
The activity requires them to match between the animals in the flashcard and the plastic toys.


You need:
Animal Plastic Toys
Animal Flashcards

You may add some information about the animals, eg: how do they sound, where do they live.

Aug 6, 2014

Under the sea

Jenn knows almost all animals, now it's time to tell her about the habitats. I'm gonna start with the sea life since we have crabs, sharks, whales, dolphins, lobsters and seaweeds.


I added a couple drops of food coloring to the water, we are running out of blue, so I used green instead. Jenn take out the animals, tell me what they are before she put them into the water one by one. I put on plastic slabber on Jenn to avoid any splash on her clothes.

Look at how much fun she had! 


Jul 23, 2014

Colorful Wheel

Teaching color is so much fun with this DIY colorful wheel! This is so simple yet cheap activity.


These are what you need:

  • Cardboard
  • Marker
  • Scissor
  • Clothes pins

How:
Make a circle on the cardboard and cut it.
Color the cardboard with colorful markers. 
And viola - it's done!


Squeezing the clothes pin was kinda difficult for her.
She need both of her hands to pinch those, so I gotta hold the colorful wheel while she pinch to open it.
Practise makes perfect, after couple of times, she can manage to hold her own colorful wheel and put on the clothes pins.

Jul 21, 2014

Watermelon, fresh up your day!

During these hot days, let's fresh up your day with this fun watermelon activity!
It's another sticking stickers and counting activity.


Things you need:
  • Cardboard
  • Black dot stickers
  • Markers
  • Popsicle sticks


How:
  1. Make a circle on the cardboard, and cut it into half to make two pieces of watermelon.
  2. Color green and red as the outter and inner watermelon.
  3. I let Jenn sticks the black dot stickers as the seeds and counts how many seeds on it.
  4. Stick popsicle sticks at the back to let them carry around.


Jul 16, 2014

Cute Ladybug

Ladybug is such a cute insect, Jenn see lots of ladybugs from her storybook and some of her toys. She loves them so much, let's make some of them!


What you need:
  • Cardboard
  • Marker
  • Googly eyes
  • Scissor
  • Glue
  • Black circle stickers
  • Popsicle stick


How to make:
  1. Cut 2 sizes of circles, for the head and body. 
  2. Color the bigger circle with red marker, left some part at the middle.
  3. Fully color the smaller circle with black marker.
  4. Let them stick the black circle stickers at the body.
  5. Stick the googly eyes at ladybug's head, and stick it together to the body.
  6. At last, stick the popsicle stick at the back side.


Jul 14, 2014

Edible Dough

I'm sure every kids love to play dough, this is how to make your own play dough, without harming ingredients!


Ingredient:

  • Water
  • Flour
  • Corn starch
  • Food coloring

The ratio for this recipe is flour:corn starch = 2:1


  1. Mix 2 tbsp flour with 1 tbsp corn starch. 
  2. Add up a very little bit of water and mix well, keep on adding the water until you get the texture.
  3. Add up food coloring and mix well.


I made small amounts of dough with couple of colors.


Special thanks to Sirly for the recipe! 

Jul 10, 2014

Learning alphabet "A"

Jenn started to learn alphabets couple of months ago, and it's time to do some activity with alphabets on!
To make it more fun, I decided to let her do different activities on each letters.
For the letter A, I had two activities: stick colorful stickers and coloring with markers. 

You need:

Printed paper
Colorful round stickers
Markers

Print the letter "A" on a piece of paper and draw colorful circle on it. Let them match the sticker color with the circle color that you draw.


Next activity includes a picture of apple for the letter of A. 


Happy learning ABC! =)

Jul 2, 2014

Simple Painting Activity

Recently, I shared a post of how to make an Edible Paint for your toddler. I prefer edible paint, because it's safer for them to play around with. Love this painting idea, you should give it a try!

You will need:
  • Edible paints
  • Thick paper
  • Q-tips

Drop lumps of paints on the paper. I had couple of different colors, just to make it more attractive.


Let them make mess on it, Jenn is so excited about this!


And this is the result!


Show me yours! =)

Jun 22, 2014

DIY Birthday Banner

On granny's birthday, we decided to make something for her.

We made cute bunny birthday card, link for step by step instruction of Bunny Birthday Card


And these are what we need for the banner:
  • Cardboard
  • Crepe paper
  • Marker
  • Scissor
  • Glue


1. Make circles with the cardboard. Then I let Jenn make scratches with pencil color on it.

2. Write the word "HAPPY BIRTHDAY" on the cardboard with colorful markers.

3. Make ruffle with the crepe paper around the cardboard. 


Happy Birthday, Granny! We  you